
Google Analytics 4 (GA4) is the newest version of Google’s web analytics platform, and it offers more powerful and comprehensive tracking and reporting capabilities than its predecessor, universal Analytics.
If you run an online store on Shopify, setting up GA4 can provide you with valuable insights into your e-commerce business, helping you make data driven decisions and improve your online store’s performance.
How to Setup Google Analytics 4 on Shopify?
Step 1. Create a GA4 property
Before you can set up Google Analytics 4 on your Shopify store, you need to create a GA4 property in your Google Analytics account.
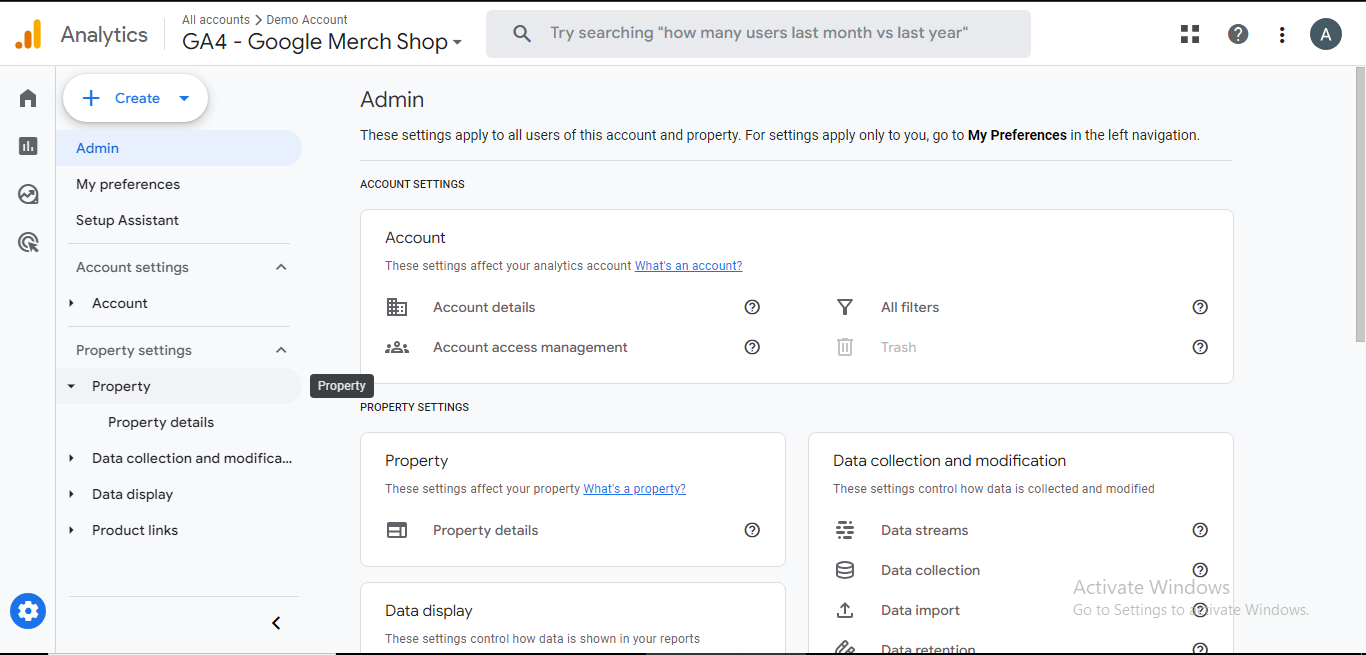
- Log into your google Analytics 4 Account
- Click on the Admin tab
- In the Property column, click on create property
- Choose “Web” as your platform
- Fill in the necessary details, such as the property name and reporting time zone.
- Click “Create”.
|
Remember ”Google will generate a measurement ID for your GA4 property . You will need this ID in the next steps." |
Step 2: Install Google Analytics on Shopify
Shopify makes it relatively easy to add GA4 to your store.
- Log in to your Shopify admin
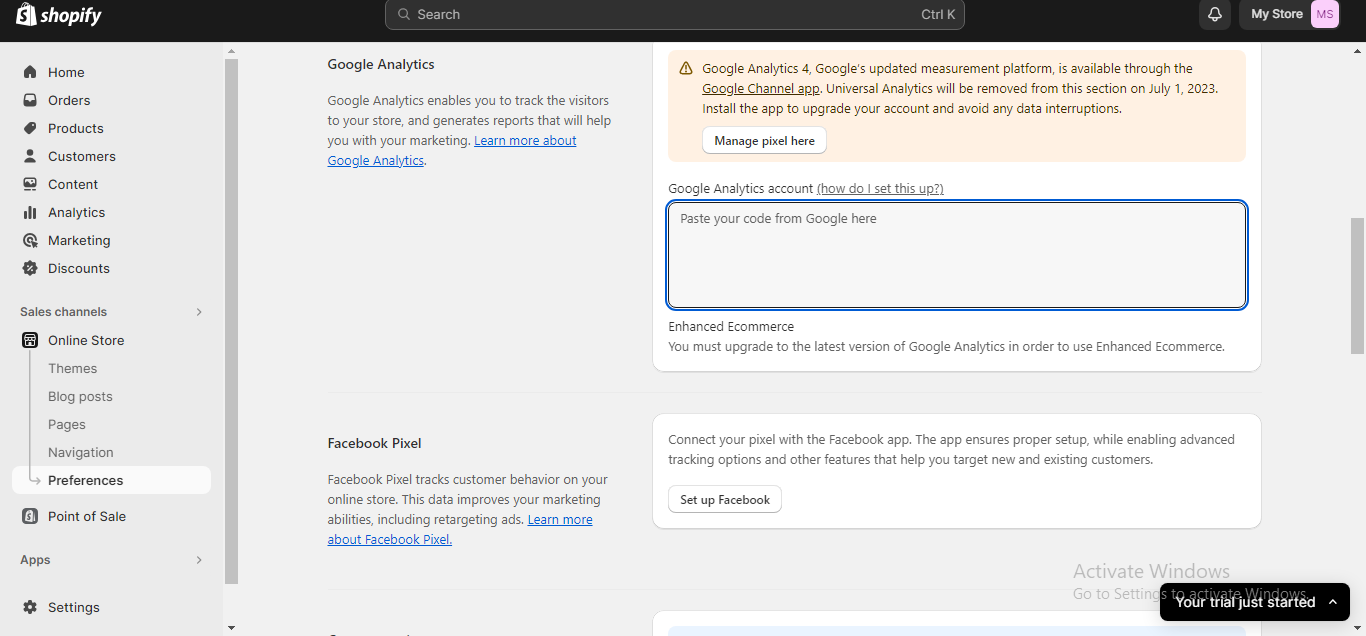
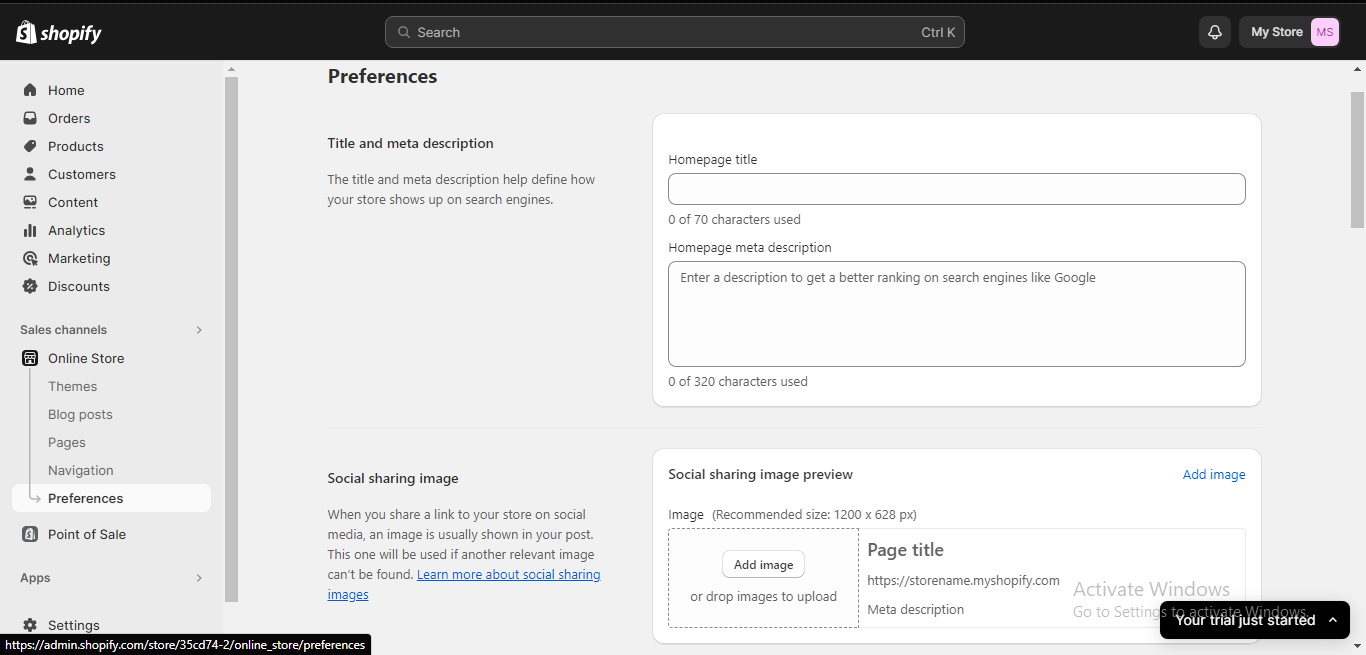
- From your shopify dashboard, go to “Online Store” and select “Preferences”.
- Scroll down to the “Google Analytics” section.
- Paste the Measurement ID that you obtained in Step 1 into the “Google Analytics Field.
- Click save
Step 3: Verify the Installation
After adding the measurement ID, it is important to verify that GA4 is correctly installed on your Shopify Store. Here’s how you can do that
- Go back to your Google Analytics account
- Access your GA4 property
- In the Admin section, click on “Data Streams.”
- Ensure that the Data stream for your shopify website is active and receiving data.
Step 4: Set up Enhanced E commerce Tracking (This is an Optional Step)
Enhanced E commerce tracking in GA4 provides detailed insights into hour online store’s performance, such as product views, add to cart events and purchase tracking. To set this up, follow these steps.
- In your Shopify admin, navigate to “Online Store” and select “Preferences.”
- Scroll down to the “Google Analytics” section and click “Additional settings.”
- Enable “Enhanced E commerce.”
- Save your changes
(Related: https://www.analytico.ca/blog/how-to-set-up-google-tag-manager-in-shopify )
Step 5: Configure Events and Conversions
Once GA4 is set up, you can configure events and conversions to track specific user interactions on your Shopify store. This allows you to measure the effect of marketing campaigns and understand user behavior better.
- In your Google Analytics account, navigate to your GA4 property.
- Click on “Events” under the “Events" section.
- Set up events for actions like add to cart, checkout and purchase.
- Define goals and conversions to track specific actions that lead to a sale.
|
TIP After configuring events and conversions, it is essential to test your setup to ensure that data is being tracked correctly. Use Google’s GA4 DebugView to see real time events and check for any discrepancies or missing data. |
Conclusion
Setting up Google Analytics 4 on your Shopify store can provide you with invaluable insights into your e-commerce business. It allows you to track user behavior, analyze performance, and make data-driven decisions to improve your online store's success. By following the steps outlined in this guide, you'll have GA4 up and running in no time, empowering you to optimize your Shopify store for better results.